Cremur Tips & Tricks
How do i fix or replace a leaking shower?
FIX OR REPLACE?
The first step in this process is to decide whether you’d like to buy and install a new shower or fix the one you currently have.
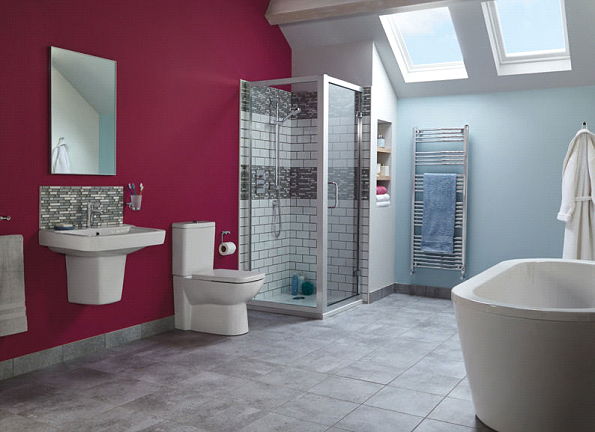
If you choose to fix your shower, you’ll need to some basic DIY skills. If you’ve had your shower for some time, you may wish to consider upgrading it, given that older showers are more prone to developing problems. You can replace your leaking shower with one that is eco-friendly, aesthetically pleasing, and long lasting? Take a look at our collection of showers for more inspiration.
Before you begin: Things to consider
It’s important to remember that fixing or replacing a shower will require you to switch off your water supply and do some basic plumbing, particularly if you’re replacing your shower altogether.
Make sure you have a roll of thread seal tape, some pliers, and a slot or cross head screwdriver to hand if you are going to replace your leaking shower. You might also need a replacement washer if you are going to fix the shower you already have installed.
Fixing your leaking shower
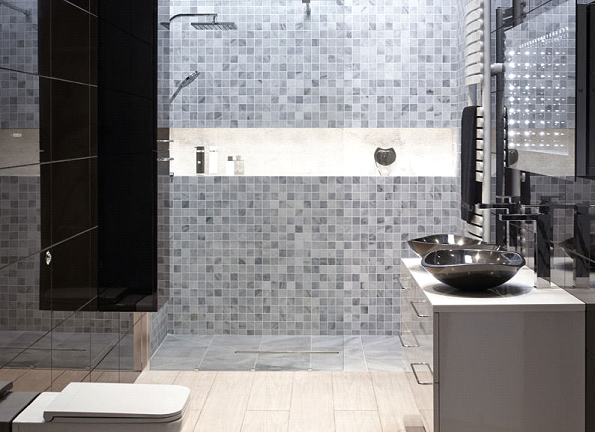
Please note: The process of fixing your leaking shower will vary, depending on which part of the shower is leaking. We’ve provided some general guidance below, but if you’re ever in doubt it’s best to seek advice from an expert.
To fix your leaking shower, you’ll generally need to:
Turn off your water
This is a very important step, and the first thing you need to do before attempting to fix your leaking shower. Switch off both your hot and cold water supply using the switch in your home, commonly located near your boiler.
Next, run all of the taps in your house to make sure that all excess water is drained out of the system and that the water is definitely turned off. Ensure that you leave all taps turned on until after you have fixed or replaced your shower.
Clean your shower head
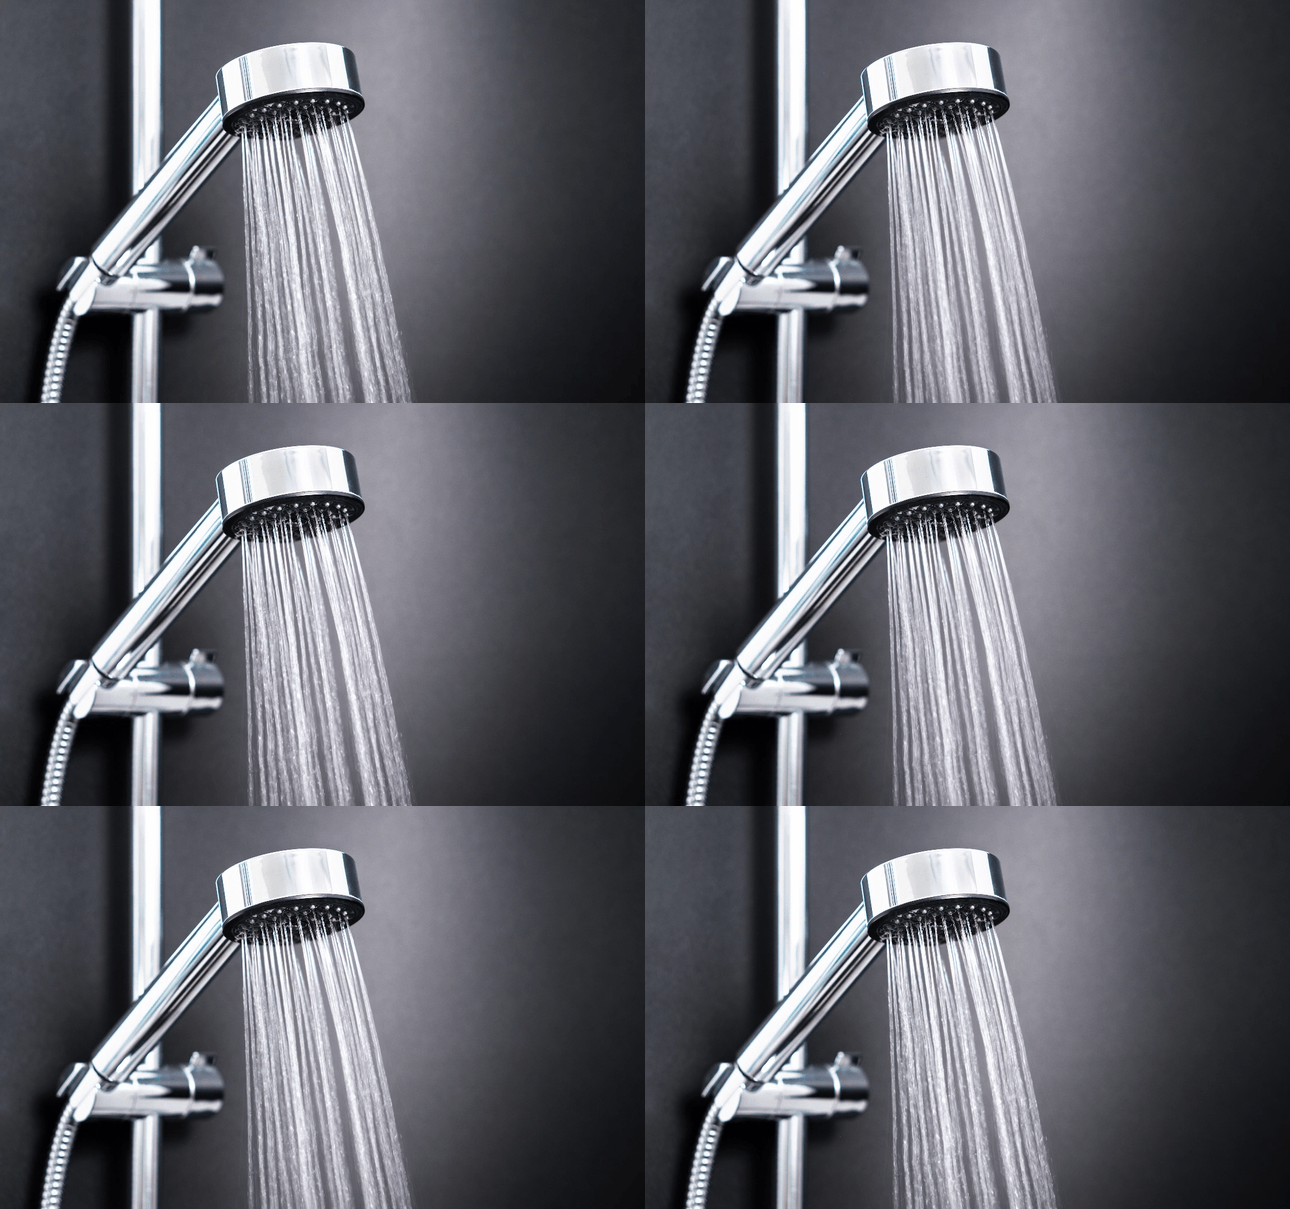
Shower heads can build up with dirt and grime, which can impact their overall performance and even cause blockages. Whether you choose to use a product made specifically for cleaning showers or a natural and eco-friendly alternative, such as a mixture of white vinegar and water, it is important that you clean it thoroughly.
Remove your showerhead and, using an old toothbrush with your chosen cleaning agent, remove any grime and particularly stubborn dirt.
Secure your O-ring with tape
Have a look at your shower head’s O-ring or washer. This is the component that should stop water from leaking out of the shower. If you can see that it is particularly worn or damaged in any way, you should replace it with a new one.
If there is no visible damage to the washer or O-ring, just apply some thread seal tape to the threads that sit on the tip of the pipe stem. This will stop any threads from seizing up in the future.
Reattach your shower head and turn on your water
Reattach your shower head until it feels relatively secure and then tighten it further using pliers. Turn the water supply back on and ensure it is running smoothly. Finally, turn the shower off and check for any leaks.
Replacing your leaking shower
Note: The process for installing a shower can vary, depending on the model you choose and the layout of your bathroom. It’s a fairly complex process that is more suited to someone who has experience and proper equipment. If you’re ever in doubt, seek expert advice before carrying out any work.
If you would like to replace your shower entirely, take a look at our handy shower buyer’s guides for inspiration.
Once you have chosen your new shower, ensure you have:
- A slot or cross head screwdriver
- An appropriately sized Allen key
- A mini hacksaw
- A soldering iron,
- A copper tubing cutter
Generally, the steps you’ll need to follow include:
Turn off your water
Just as you would if you were fixing your shower, make sure you turn off your water supply before attempting an installation – see step 1 of ‘Fixing your shower’ for more guidance on how to do this.
Remove your old shower
Remove your old shower handle using an Allen key and remove the escutcheon trim plate so that you can access the shower valve. You will then need to cut the old shower valve out of the wall using a copper tubing cutter or a mini hacksaw.
Position your new shower
Put your new shower valve into position in the spot where your old shower valve used to sit. Ensure that the copper pipes are pushed all the way in.
Solder the joints of the valve
Solder each joint of the copper pipes one at a time to ensure a secure connection. Keep a bucket of water nearby while doing this, in case of any sparks or fire.
Install your new shower
Leave the valve and soldered pipes for some time (at least half an hour) to allow them to cool down. Install your new shower cartridge in the same way that you removed your old one. As you do this, make sure that the shower valve is in the ‘off’ position.
Turn your water back on
Turn your water back on and check that there are no leaks coming from your newly fitted shower. Once you’re happy that there are no leaks, install your new trim and shower handle. Whether you do the work yourself or seek help from an expert, fixing or replacing your shower can be a straightforward process that’s worth the effort!

Tralee Showroom Opening Hours:
Mon to Sat: 8.30am - 5.30pm
Sun: 2.00pm – 5.00pm
Newcastle West Showroom Opening Hours:
Mon to Sat: 8.30am - 5.30pm
C.W.S. Complex
Upper Rock Street
Tralee, Co. Kerry
V92 YH5V
Call: (066) 7124555
Email: This email address is being protected from spambots. You need JavaScript enabled to view it.
St Mary's Rd,
Rathnaneane,
Newcastle West,
Co. Limerick,
V42 E029
Call: (069) 26013
Email: This email address is being protected from spambots. You need JavaScript enabled to view it.
